How to Build Kitchen Cabinets: A Step-by-Step Guide for DIY Enthusiasts
Imagine walking into a kitchen where every cabinet is crafted to perfection, reflecting your personal touch and meticulous craftsmanship. If you’ve ever wondered how to build kitchen cabinets that are both functional and stylish, you’re in the right place. This guide will walk you through each step, turning a daunting task into an enjoyable DIY adventure. Let’s dive into the art of cabinet-making and transform your kitchen into a masterpiece.

Planning Your Kitchen Cabinet Design
Before you lift a saw or hammer, planning is crucial. Think of this as the blueprint of your success, where accurate measurements and a well-thought-out layout set the foundation for your entire project.
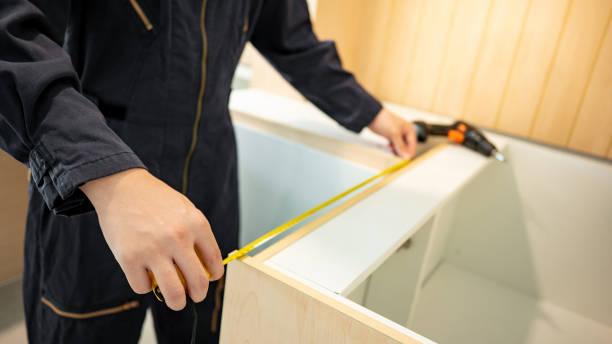
Start by measuring the dimensions of your kitchen space. Accurate measurements ensure that your cabinets will fit perfectly and function efficiently. Sketch out your kitchen layout, marking where each cabinet will go. Consider the flow of your kitchen and how you use the space—this will help in deciding the placement of cabinets for optimal functionality.
When it comes to materials, choose wisely. Plywood is a popular choice due to its durability and affordability. For a more luxurious feel, hardwoods like oak or maple offer excellent strength and a beautiful finish. The key is to balance durability with aesthetics to ensure your cabinets not only last but also enhance the overall look of your kitchen.
Preparing the Materials
With your plan in place, it’s time to gather and prepare your materials. This step is akin to gathering ingredients before cooking a gourmet meal—precision and quality matter.
1. Cutting Plywood to Size: Start by cutting your plywood sheets to the required dimensions for the cabinet sides, bottom, and shelves. Use a table saw for straight, clean cuts. Always double-check your measurements before cutting to avoid costly mistakes.
2. Making Dado and Rabbet Cuts: These cuts are essential for a sturdy assembly. A dado cut is a groove in the wood that allows another piece to fit snugly into it, while a rabbet cut is a notch along the edge. Use a router or a dado blade on your table saw to make these cuts, ensuring each piece fits perfectly together.

Assembling the Cabinet Box
Now that your materials are prepped, it’s time to bring your cabinet box to life. This process requires patience and precision, like piecing together a complex puzzle.
1. Assembling the Sides and Bottom: Lay out your sides and bottom pieces. Apply wood glue along the dado cuts and fit the pieces together. Secure them with clamps to hold them in place while the glue dries. For added strength, drive screws into the joints.
2. Adding Supports: Install support braces inside the cabinet box to enhance stability. These can be placed at the top, bottom, and middle of the cabinet. Ensure everything is square by measuring diagonally from corner to corner—both measurements should be the same.
Adding the Face Frame
The face frame not only adds structural integrity but also gives your cabinet a polished look. Think of it as the frame to a beautiful painting.
1. Measuring and Cutting the Face Frame: Measure the front of your assembled cabinet box and cut the face frame pieces to size. Typically, the face frame consists of vertical stiles and horizontal rails.
2. Attaching the Face Frame: Use pocket-hole joinery to attach the frame pieces together. Pocket holes are drilled at an angle into one piece of wood and then screws are driven into these holes to join the pieces securely. Once assembled, apply wood glue to the back of the face frame and attach it to the front of the cabinet box. Clamp it in place and let the glue dry before removing the clamps.
Installing the Back Panel and Toe Kicks
These elements complete the basic structure of your cabinet, ensuring it’s ready for installation.
1. Cutting and Attaching the Back Panel: Measure the back of your cabinet box and cut the back panel to size. Apply wood glue along the edges and secure the panel with nails or screws. This adds rigidity to your cabinet, preventing it from racking.
2. Integrating Toe Kicks: Toe kicks are recessed areas at the base of your cabinets that provide space for your feet, making it more comfortable to stand close to the counter. Cut out the toe kick area from the bottom front of your base cabinets before assembly. Attach the toe kick pieces to the bottom of the cabinet, ensuring they are flush with the front of the face frame.

Finishing Touches and Installation
Your cabinet structure is complete, but the finishing touches are what truly make it shine.
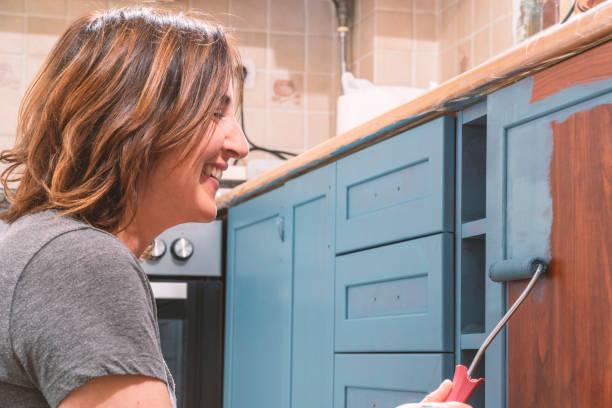
1. Applying Finishes: Sand your cabinet thoroughly to ensure a smooth surface. Choose a finish that matches your kitchen’s aesthetic—paint, stain, or sealant. Apply the finish evenly and let it dry completely. This step not only enhances the appearance but also protects the wood.
2. Mounting the Cabinets: Installing your cabinets requires precision. Start with the upper cabinets to avoid working over the lower ones. Use a level to ensure they are straight, and secure them to the wall studs with screws. For the base cabinets, ensure they are level and aligned correctly before securing them in place.
Customization and Additional Features
This is where your creativity can truly shine. Think of it as adding the final flourishes to a grand symphony.
1. Adding Shelves and Dividers: Customize the interior of your cabinets with adjustable shelves, pull-out trays, or dividers to suit your storage needs. These additions maximize space and improve functionality.
2. Installing Doors and Hardware: Attach doors to your cabinets using concealed hinges for a clean look. Choose hardware that complements your kitchen’s style—sleek handles for a modern kitchen or ornate knobs for a traditional feel.
3. Special Features: Consider adding features like soft-close hinges, under-cabinet lighting, or built-in spice racks. These enhancements can elevate your kitchen’s functionality and aesthetic appeal.

Conclusion
Embarking on the journey of how to build kitchen cabinets is a rewarding endeavor. From meticulous planning and precise assembly to adding the final touches, each step brings you closer to a kitchen that reflects your unique style and craftsmanship. As you stand back and admire your work, you’ll appreciate the time, effort, and creativity invested in creating a space that’s both beautiful and functional. So, roll up your sleeves and start building—you’ve got this!
FAQs
Is it cheaper to build your own kitchen cabinets?
Yes, building your own kitchen cabinets can be cheaper than buying pre-made ones, as you save on labor costs and can choose budget-friendly materials, but it requires time, tools, and skills.
Can I build my own kitchen cabinets?
Yes, you can build your own kitchen cabinets if you have basic carpentry skills, the right tools, and a detailed plan. It’s a rewarding DIY project that can save money and customize to your needs.
What is the best wood to use to build kitchen cabinets?
Hardwoods like oak, maple, and cherry are the best woods for building kitchen cabinets due to their durability, strength, and aesthetic appeal.
Do you install top or bottom kitchen cabinets first?
Install the top kitchen cabinets first to avoid working over the lower cabinets, ensuring easier alignment and preventing potential damage to the base cabinets.
