How to Install an Undermount Sink: A Complete Installation Guide
Installing an undermount sink can transform your kitchen or bathroom with a sleek, modern look. Unlike top-mount sinks, undermount sinks are installed beneath the countertop, creating a seamless appearance and making it easier to clean the countertop. This comprehensive guide will walk you through the process of installing an undermount sink, from understanding the benefits to troubleshooting common issues.

What Is an Undermount Sink and Why Choose It?
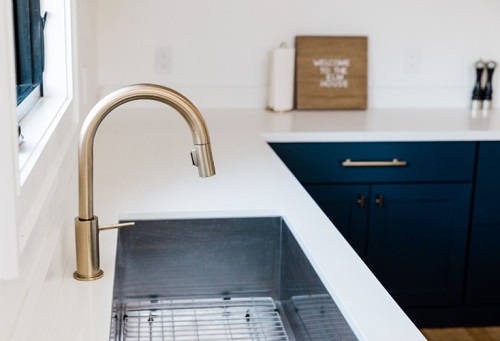
An undermount sink is a type of sink that is installed under the countertop, rather than sitting on top of it. This installation style creates a clean, uninterrupted surface between the sink and countertop, which is easier to maintain and looks more elegant.
Benefits of Undermount Sinks:
Choosing an undermount sink is ideal for achieving a contemporary aesthetic and simplifying kitchen or bathroom maintenance.
What Tools and Materials Are Required for Installation?
Before you start installing your undermount sink, ensure you have the following tools and materials ready:
○ Adjustable wrench
○ Drill and drill bits
○ Caulk gun
○ Screwdriver
○ Level
○ Utility knife
○ Undermount sink
○ Sink clips or brackets
○ Silicone sealant or adhesive
○ Plumbers’ putty
○ Epoxy (optional, for extra security)
Having the right tools and materials on hand will make the installation process smoother and more efficient.
How to Prepare Your Countertop and Cabinet for Installation
Proper preparation is crucial for a successful undermount sink installation. Follow these steps to ensure a secure and accurate fit.
How to Measure and Cut Your Countertop
1.Measure the Sink: Start by measuring the dimensions of your undermount sink. Ensure these measurements are accurate and align with your countertop dimensions.
2.Mark the Countertop: Use a pencil to mark the outline of the sink on the countertop. Double-check the measurements to avoid errors.
3.Cut the Countertop: Carefully cut along the marked lines. Use a jigsaw or a circular saw for precision. Make sure the cut is smooth and the edges are free of splinters.
How to Ensure Proper Cabinet Support
1.Inspect Cabinet Structure: Check that the cabinet beneath the countertop is sturdy and can support the weight of the sink.
2.Reinforce if Needed: If the cabinet is not strong enough, add additional support by installing wood braces or reinforcing the cabinet frame.
3.Clean and Prepare Surface: Ensure the area where the sink will be mounted is clean and free of debris.
Proper preparation of both the countertop and cabinet will help secure the sink and prevent future issues.
How to Install Your Undermount Sink Step-by-Step
Once your countertop and cabinet are prepared, follow these steps to install your undermount sink.
How to Position and Mount the Sink
1.Apply Adhesive: Apply a generous bead of silicone sealant or adhesive around the sink’s rim.
2.Position the Sink: Carefully position the sink under the countertop cutout. Press the sink firmly into place, ensuring it is centered and aligned.
3.Install Sink Clips: Attach the sink clips or brackets to the sink and the underside of the countertop. Tighten them securely using a screwdriver.
How to Secure the Sink to the Countertop
1.Check Alignment: Use a level to ensure the sink is properly aligned and adjust as needed.
2.Secure the Sink: Tighten the sink clips or brackets to ensure the sink is firmly attached to the countertop. Avoid over-tightening, which could damage the sink or countertop.
How to Apply Sealant and Finish the Installation
1.Seal the Edges: Apply a thin bead of silicone sealant around the edges where the sink meets the countertop. Smooth the sealant with a caulking tool or your finger to ensure a tight seal.
2.Clean Excess Sealant: Wipe away any excess sealant with a damp cloth before it dries.
3.Allow to Cure: Let the sealant cure for at least 24 hours before using the sink to ensure a watertight seal.
Proper sealing and finishing will prevent leaks and ensure the durability of your installation.
What Are the Common Issues and How to Troubleshoot Them?
Even with careful installation, issues can arise. Here’s how to troubleshoot common problems:
Addressing these issues promptly will help maintain the functionality and appearance of your undermount sink.
Conclusion
Installing an undermount sink enhances both the aesthetics and functionality of your kitchen or bathroom. By understanding the process and preparing properly, you can achieve a seamless and professional installation. Follow the steps outlined in this guide to ensure a successful installation and enjoy the benefits of your new undermount sink.
FAQs
How long does it take to install an undermount sink?
Typically, installing an undermount sink takes about 3 to 4 hours, including preparation, installation, and curing time for sealant.
Can I install an undermount sink myself or should I hire a professional?
While DIY installation is possible if you have the right tools and skills, hiring a professional can ensure a flawless installation, especially if you’re unsure about the process.
What maintenance is required for an undermount sink after installation?
Regularly clean your undermount sink with mild soap and water. Check and maintain the sealant to prevent leaks and ensure the sink remains securely mounted.
