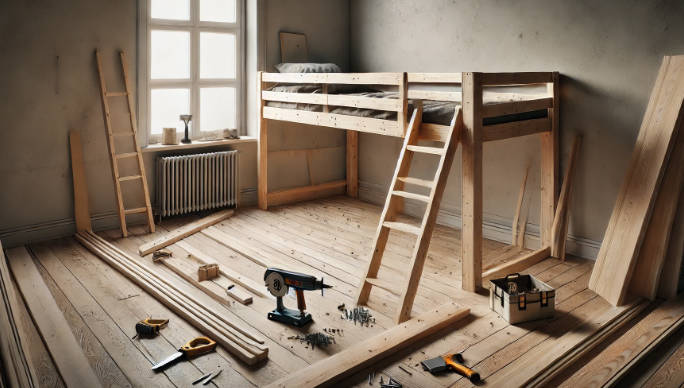
How to Build a Loft Bed That Maximizes Space and Adds Style
Building a loft bed is a practical way to maximize space and create a functional, stylish addition to any room. This guide on how to build a loft bed outlines the materials and tools needed, along with a step-by-step process for construction. From selecting the right wood to assembling the frame, each detail is carefully considered to ensure a sturdy and safe final product. Whether for a child’s room or a small apartment, a loft bed can be both a space-saving solution and a creative project.

What Materials and Tools Do You Need to Build a Loft Bed?
To build a loft bed, you’ll need a combination of materials and tools. Here’s a quick rundown of what you’ll need:
How to Build a Loft Bed?
Building a loft bed is a DIY project that can save space and add functionality to a room. Here’s a step-by-step guide to building your own loft bed.
Step 1: Measure and Cut the Wood
Measure the dimensions of your mattress to determine the size of the bed frame. Add a few extra inches for comfort. Use a circular or miter saw to cut the wood according to your measurements:
Step 2: Assemble the Bed Frame
Lay out the pieces for the bed frame on the ground. Apply wood glue to the joints where the long and short pieces meet. Clamp them together for a few minutes to let the glue set. Then, drill pilot holes and screw the frame together using wood screws.
Step 3: Attach the Legs
Position the four legs at each corner of the frame. Make sure they’re evenly aligned. Drill pilot holes through the frame into the legs, then attach the legs using long screws or bolts for added stability. Ensure the legs are securely fastened and the frame is level.
Step 4: Add the Slats
Lay the slats evenly across the width of the bed frame. Drill pilot holes at each end of the slats, then screw them into place.
Step 5: Install the Plywood Base
Cut a sheet of plywood to the dimensions of the bed frame. Place it on top of the slats and secure it with screws. This will serve as the base for the mattress, providing additional support.
Step 6: Build and Attach the Ladder
If you’re building your own ladder, cut two long pieces of wood for the sides and shorter pieces for the rungs. Attach the rungs to the sides using screws, ensuring they are evenly spaced. Secure the ladder to the bed frame using screws or brackets.
Step 7: Sand and Finish
Sand all the surfaces of the loft bed to remove any rough edges. You can also apply paint or wood stain to match your room’s décor. Allow it to dry completely before using.
Step 8: Final Assembly and Safety Check
Once the loft bed is fully assembled, do a final check to ensure everything is secure. Tighten any loose screws and test the stability of the bed. Place the mattress on top, and your loft bed is ready for use!

Safety Tips for Building and Securing a Loft Bed
While constructing a loft bed, you should prioritize safety. Since the bed is elevated off the ground, the risk of falling is a significant concern.
1.Consider who will be using the bed and determine whether an elevated sleeping position is suitable for them. If the individual tends to roll out of bed or sleepwalk, a loft bed may not be the safest choice.
2.If you opt to add a safety rail, ensure that any gaps are small enough to prevent a 4-inch ball from passing through. This standard, also used for stair balusters, helps prevent a child’s head from fitting through the openings.
3.When placing the loft bed, it’s advisable to position it against two walls. This setup allows you to securely fasten the bed to the walls, providing necessary stability.
4.To ensure the loft bed is securely anchored:
Conclusion
By carefully following the steps on how to build a loft bed, you can create a sturdy and stylish addition to any room. Prioritizing safety during construction and installation ensures that the bed remains secure for daily use. With the right approach this article provides, your loft bed will serve as a functional and safe space, adding both utility and aesthetic value to your home.
FAQs
How much weight can a loft bed support?
A standard loft bed typically supports between 150 to 200 pounds, depending on the design and manufacturer. Always verify the exact weight limit with the manufacturer for safety.
How much does it cost to build a loft bed?
The cost to build a loft bed ranges from $200 to $1,000, depending on materials, design complexity, and whether you DIY or hire a professional. DIY options using basic materials can cost around $200-$500, while custom-built loft beds by professionals may exceed $1,000, especially with added features like storage.
